


From office to dream photography studio in 10 days
a wild journey

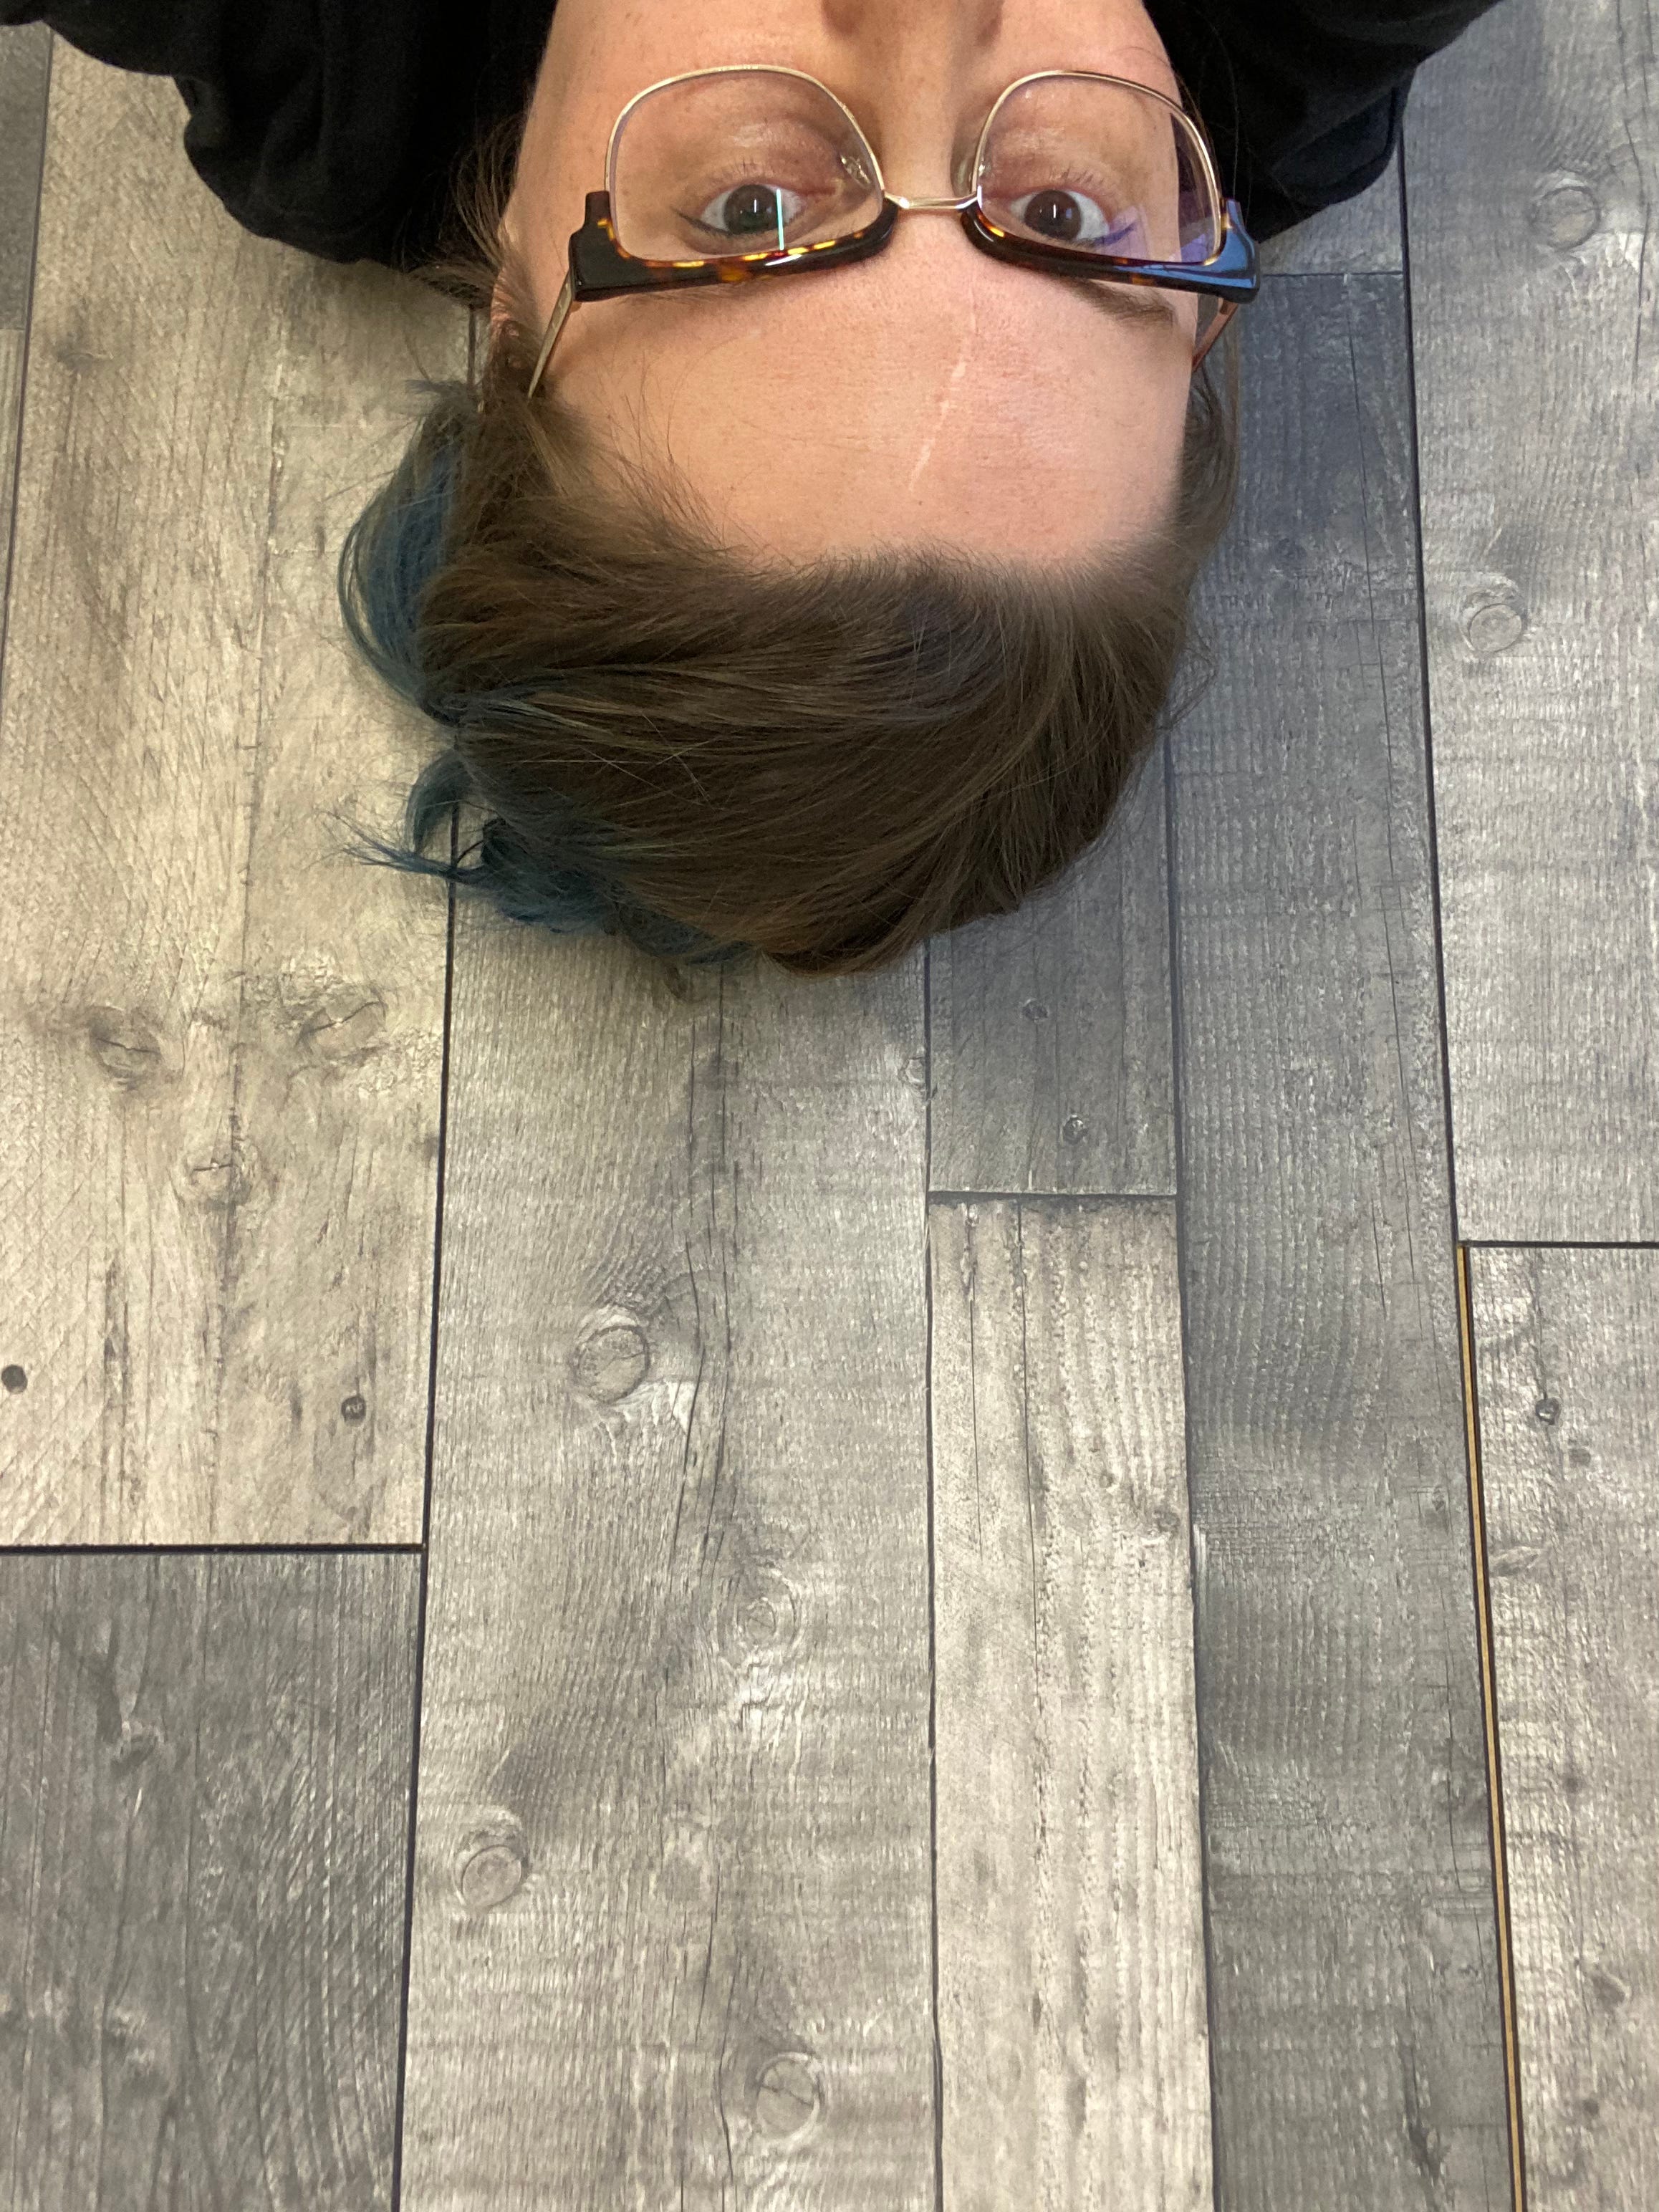
For years, I dreamed of having my own photography studio, a space where creativity could flow freely, where I could bring my vision to life, and where clients could feel comfortable and empowered in front of the camera. And finally, at the end of January, the stars aligned. I signed my first contract for my very own photography space! What followed was an intense 10-day transformation, turning an office into a fully functional studio.
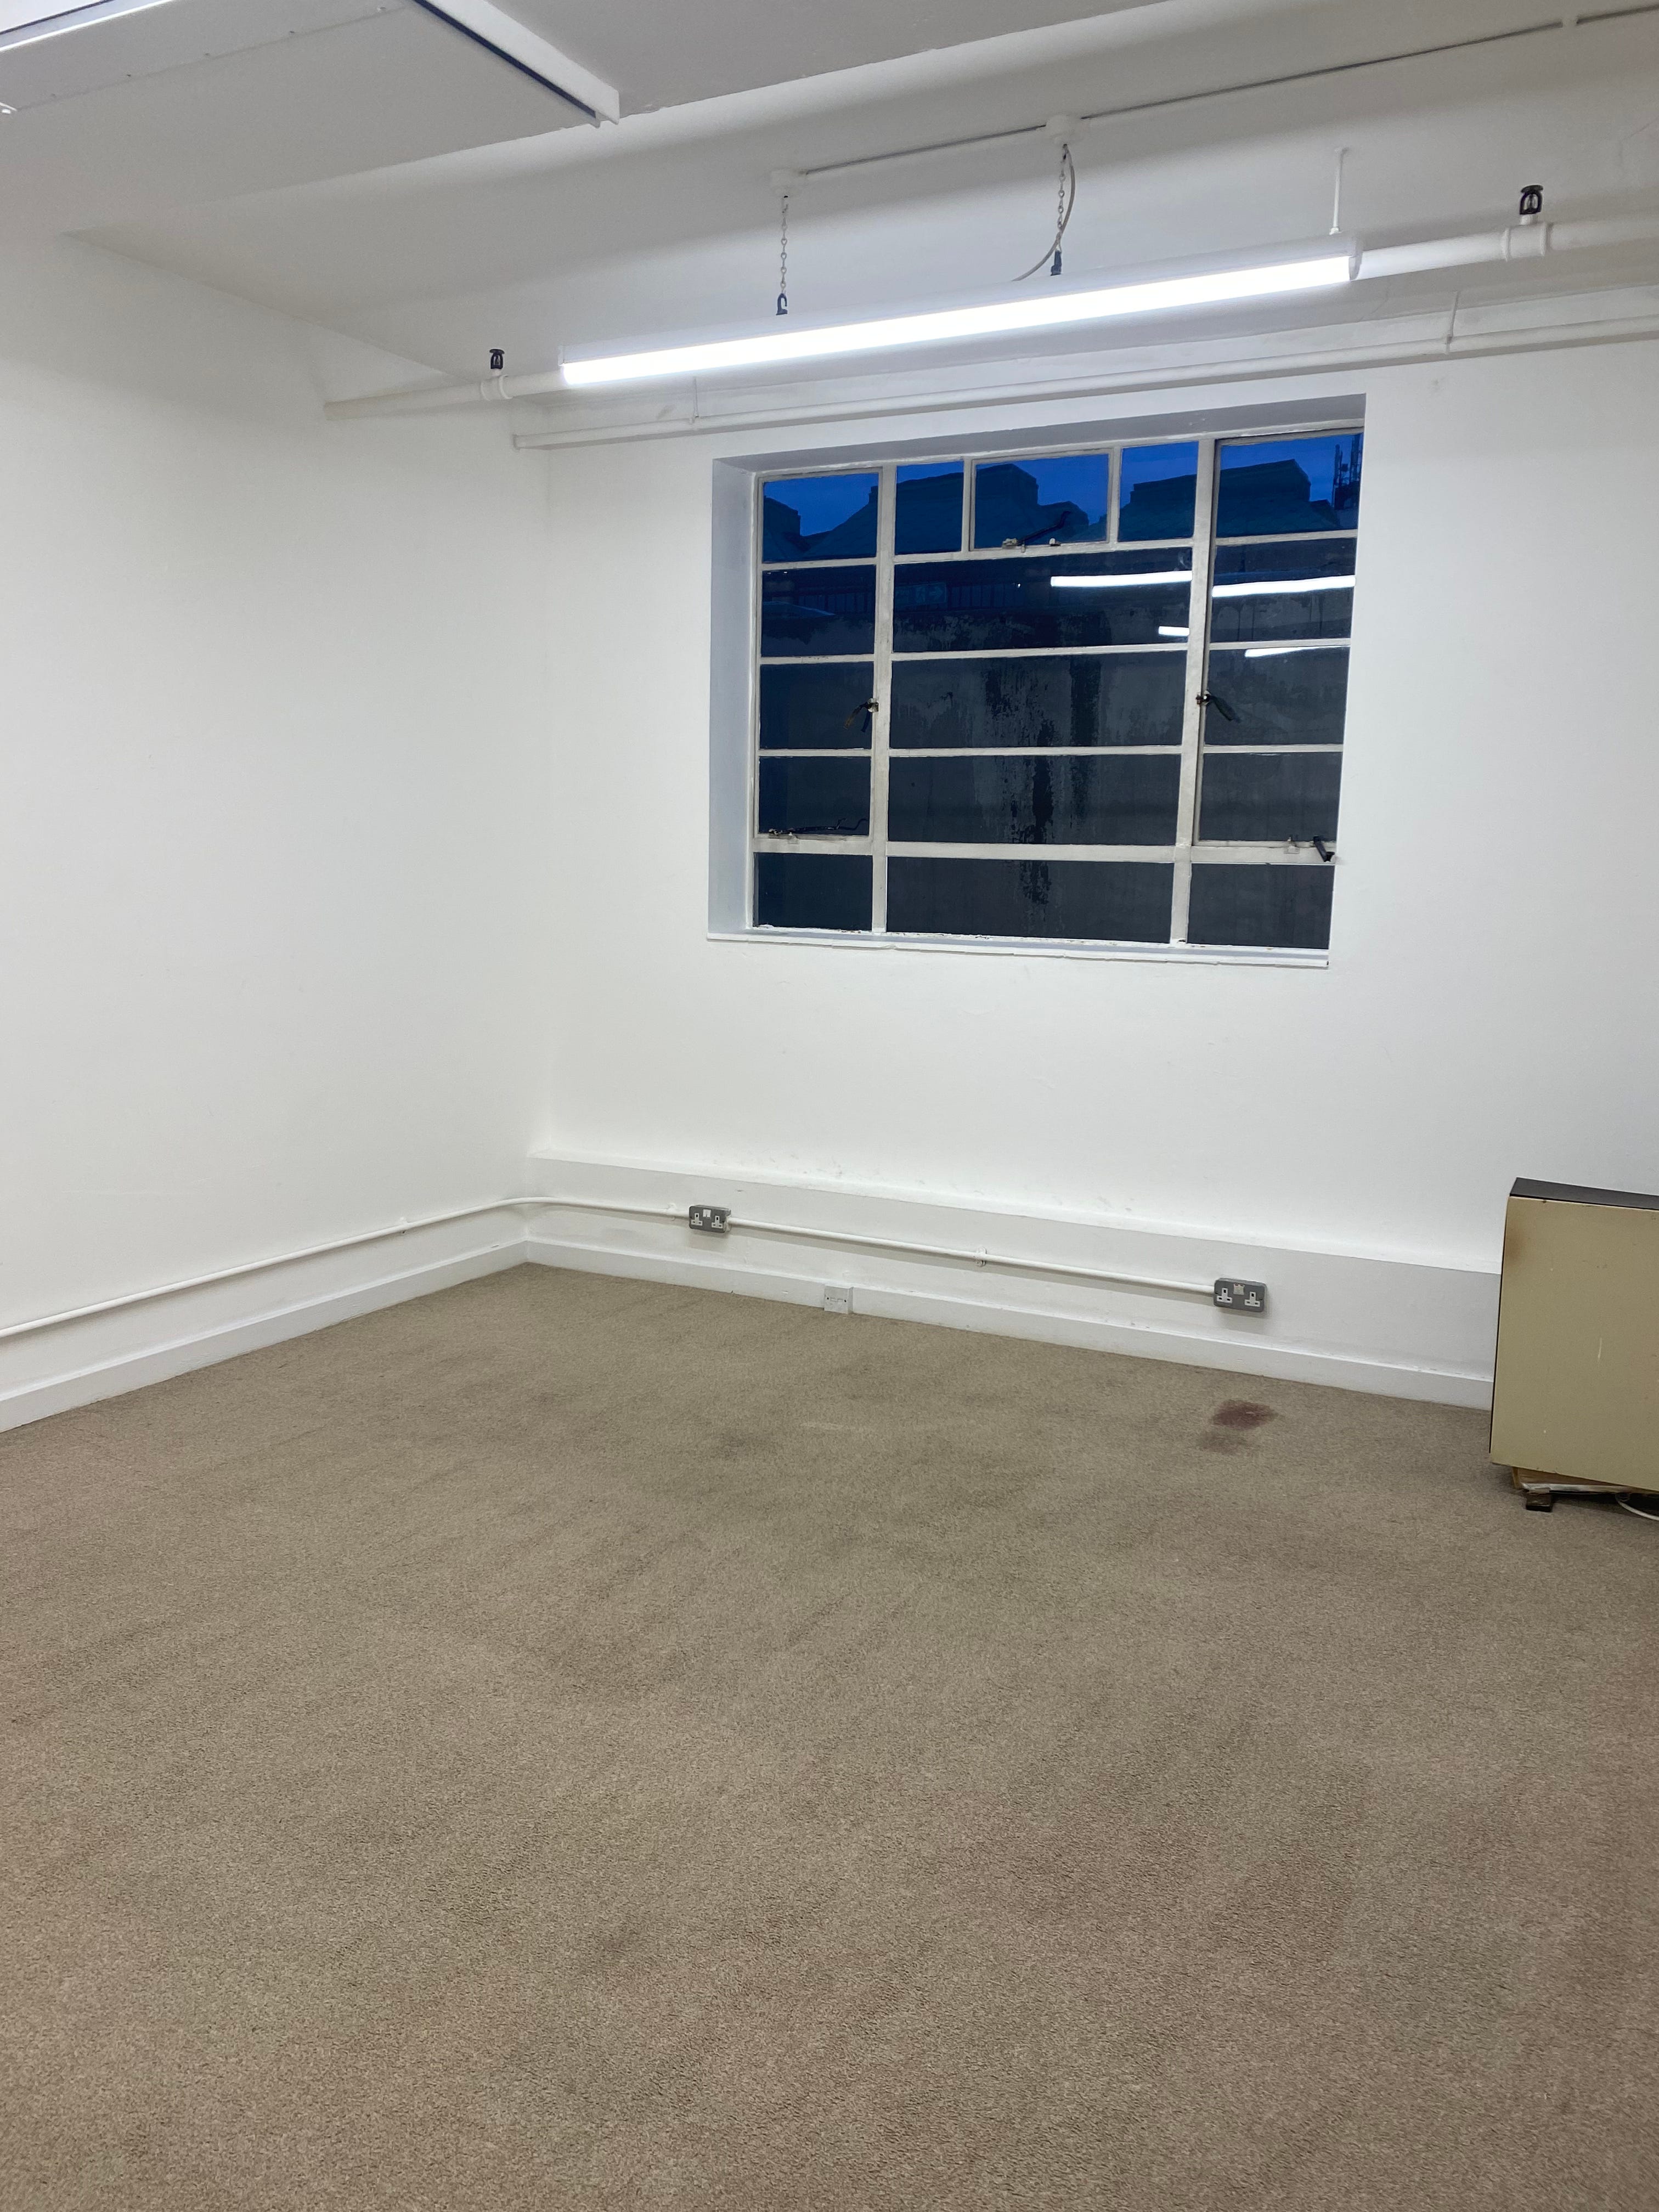
Before diving into renovations, I had to plan everything meticulously. I measured the space, sketched out ideas, and envisioned how the studio would look. My biggest challenge was definitely the carpeted floor. While it might have been cozy for an office, it wasn’t ideal for a photography studio. I needed a hard, smooth surface for my clients and models to pose on. That’s when I started my deep dive into the world of flooring solutions.
After countless hours of research on YouTube and multiple trips to B&Q, I found the perfect laminate flooring. The catch? I had to install it myself. I’m a diy babe, but I’ve never cut a laminate before, the next challenge was behind the corner: buy (and learn how to use) a the circular saw. I’ll be honest, using power tools was intimidating at first, but once I got the hang of it, I felt unstoppable. Cutting, placing, and securing each piece was a labor of love, but seeing the transformation was worth every moment.


No photography studio is complete without the right furniture. Cue a trip to Ikea. Armed with my blueprint and a whole lot of patience, I picked out furniture that balanced functionality and aesthetics. Then came the real challenge, assembling everything. Let’s just say my fingers took a beating, but after hours of Allen wrenches and stubborn screws, the space started coming together beautifully.


You never truly realise how much photography equipment and props you own until you have to move them all. Lights, backdrops, cameras, tripods, styling props (a lot of them, like disco balls, cowboy hats, fake flowers, smoke machine etc) the list was endless. The real puzzle was organising everything in a way that kept the studio functional without it feeling cluttered. It took some serious Tetris skills, but in the end, everything found its place.


Simultaneously, I was also working on my studio’s website, because what’s a business without an online presence? Web design isn’t exactly my forte, and the process was… let’s just say, stressful. But through trial, error, and a lot of determination, I finally got it up and running. Another milestone achieved (that btw you can visit here)
Fast forward ten days, and on my birthday (perfect timing, right?), my studio was finally ready! It’s not the biggest space, and it’s not flawless, but it’s mine. Every detail, from the flooring to the decor, was done by me, and I couldn’t be prouder.


The real adventure begins now, and I’m beyond excited to welcome you all to Hepburn Studios!